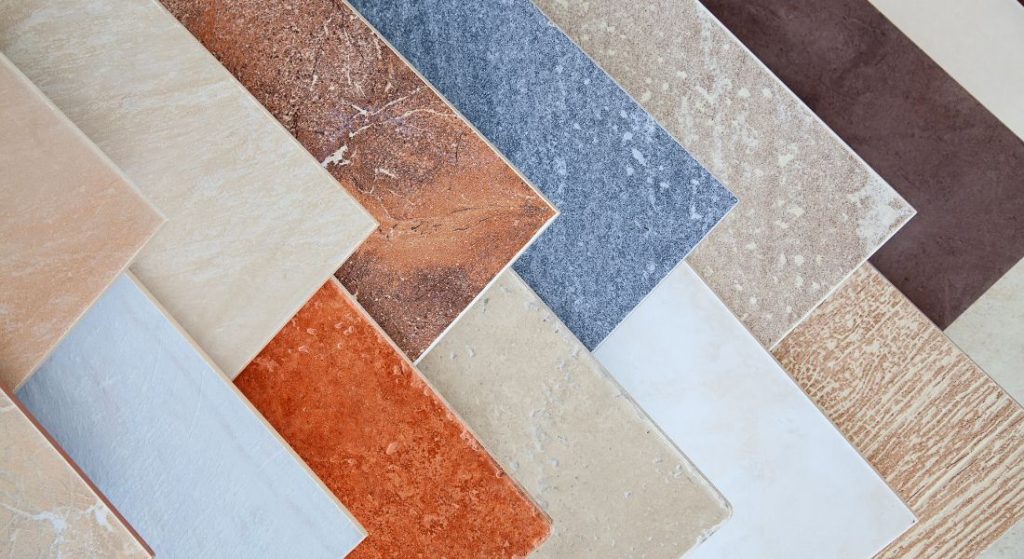
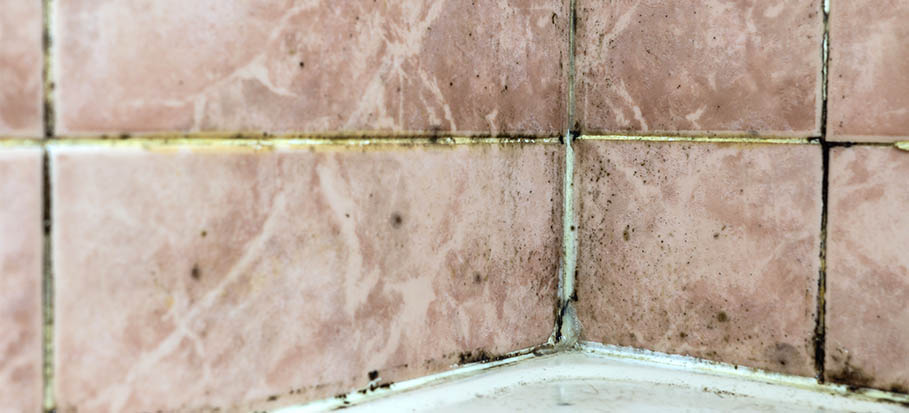
Grout is an essential part of your tiled surfaces, but its porous nature makes it a prime target for mold growth. While bleach is often the go-to solution for tackling mold, it can be harsh on grout, damaging its surface and releasing harmful fumes. Thankfully, there are effective, bleach-free ways to clean grout and restore its appearance.
Why Avoid Bleach for Grout Cleaning?
Although bleach is effective at removing mold, it’s not always the best choice. Here’s why you might want to avoid it:
- Harsh on Grout: Bleach can erode grout over time, weakening its structure.
- Toxic Fumes: The strong fumes from bleach can be harmful to your health, especially in poorly ventilated areas.
- Environmental Impact: Bleach isn’t eco-friendly and can harm the environment when washed away.
By choosing natural and safer alternatives, you can effectively remove mold while preserving the integrity of your grout.
Tools and Materials You’ll Need
Before starting, gather these essential tools and materials:
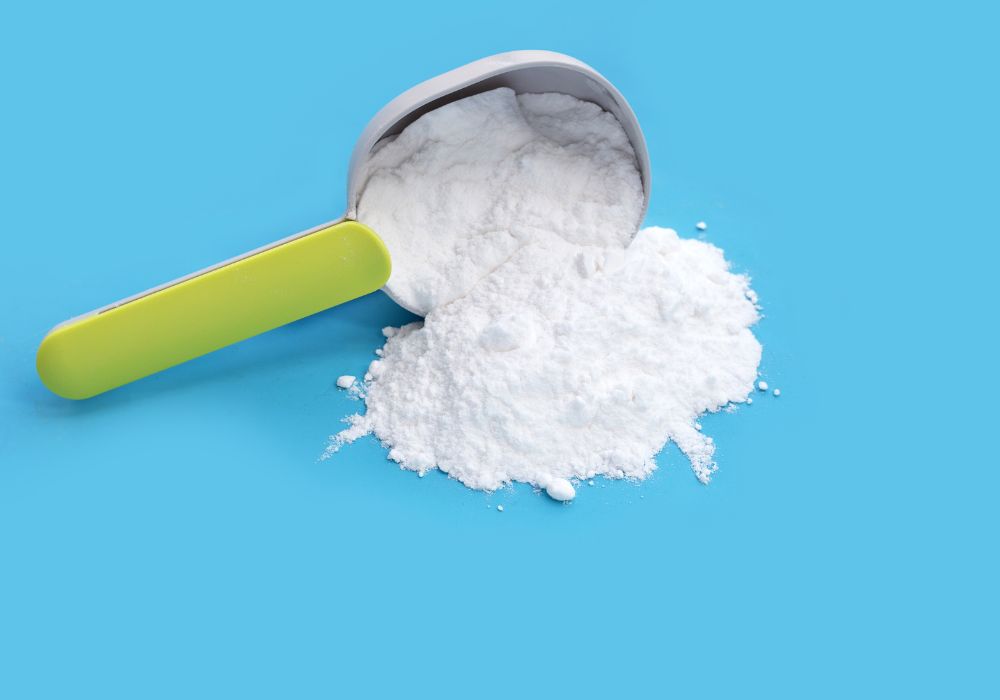
- Baking soda
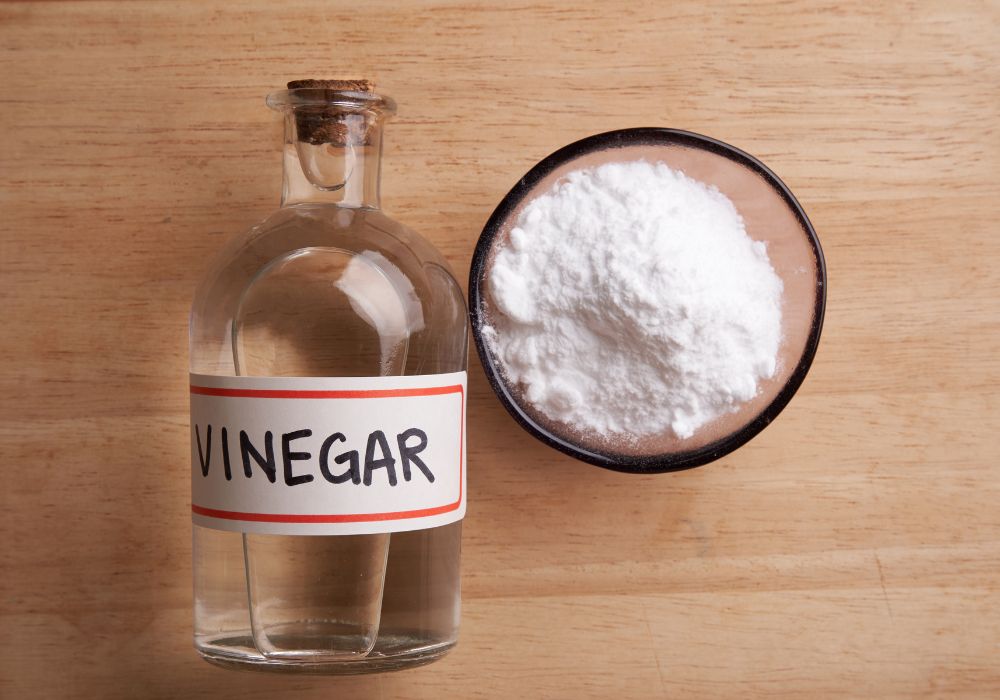
- White vinegar
- Hydrogen peroxide
- Dish soap
- Toothbrush or grout brush
- Spray bottle
- Microfiber cloths
- Warm water
5 Bleach-Free Methods to Clean Mold from Grout
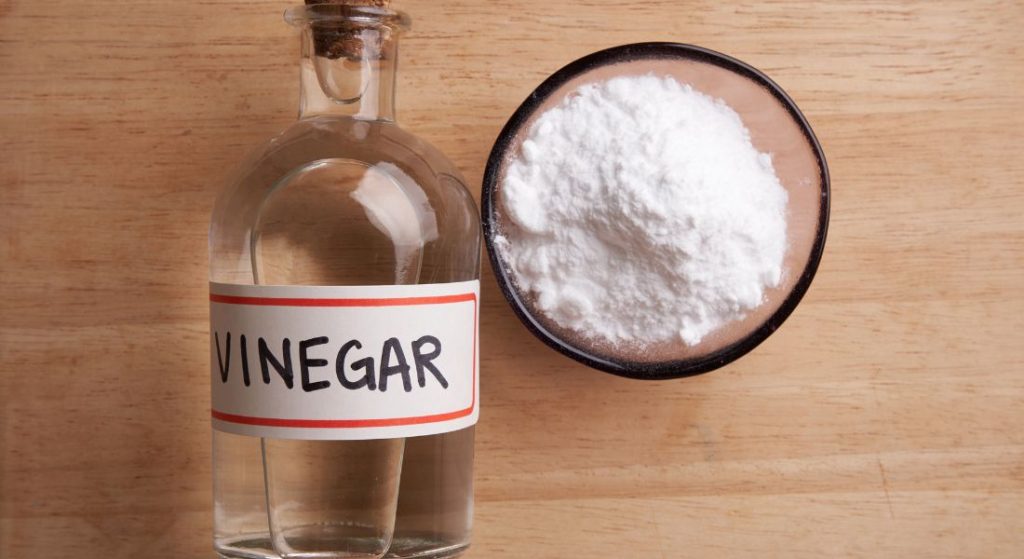
1. Baking Soda and Vinegar Combo
This natural cleaning duo is a powerful option for removing mold and grime.
- Sprinkle baking soda directly onto the grout lines.
- Fill a spray bottle with equal parts water and white vinegar.
- Spray the vinegar solution over the baking soda. The fizzing reaction helps loosen mold and dirt.
- Scrub the grout gently with a toothbrush or grout brush.
- Rinse with warm water and dry the area with a microfiber cloth.
2. Hydrogen Peroxide for Stubborn Mold
Hydrogen peroxide is a great alternative to bleach, as it disinfects and removes mold without harmful fumes.
- Pour hydrogen peroxide directly onto the grout lines or apply it with a spray bottle.
- Let it sit for 10-15 minutes to penetrate the mold.
- Scrub the grout with a brush to lift the stains.
- Rinse thoroughly with water and wipe dry.
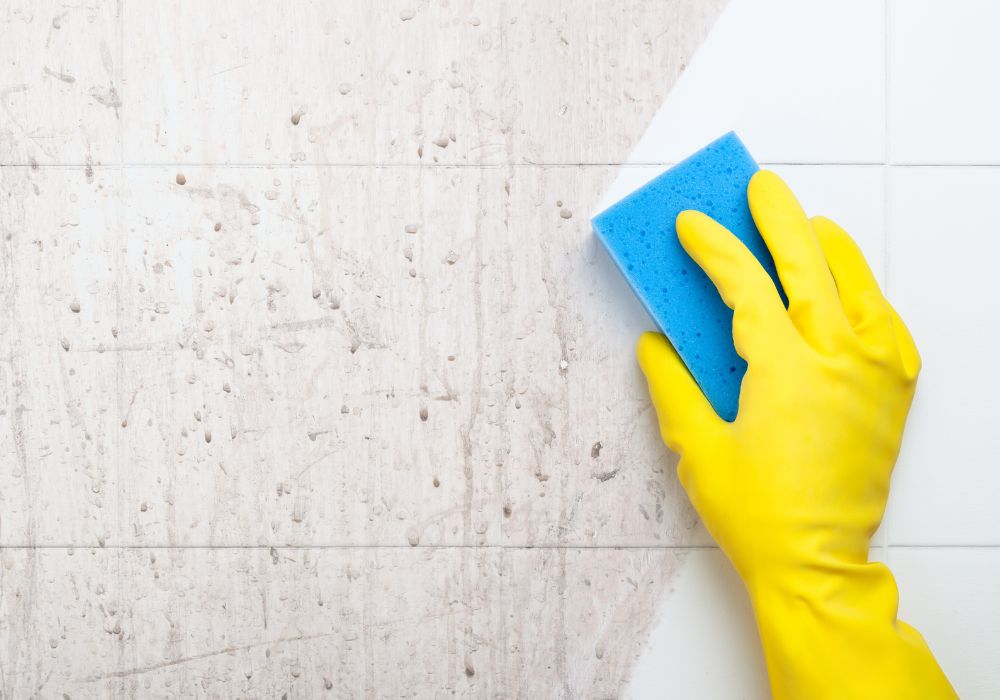
3. Dish Soap and Warm Water for Light Mold
For light mold growth or routine maintenance, dish soap is a gentle yet effective option.
- Mix a few drops of dish soap with warm water in a bucket.
- Dip a toothbrush or sponge into the solution and scrub the grout lines.
- Rinse with clean water and wipe the tiles dry.
4. Baking Soda and Hydrogen Peroxide Paste
For tougher stains, combining baking soda and hydrogen peroxide into a paste can work wonders.
- Mix baking soda and hydrogen peroxide into a thick paste.
- Apply the paste to the grout and let it sit for 10 minutes.
- Scrub the grout gently with a brush, focusing on moldy areas.
- Rinse with warm water and dry the surface.
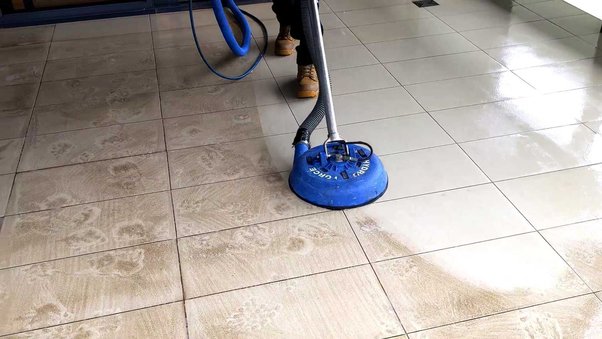
5. Steam Cleaning
Steam cleaning is a chemical-free and highly effective way to clean grout and kill mold spores.
- Use a steam cleaner with a grout attachment to target moldy areas.
- Slowly move the steam cleaner along the grout lines, allowing the heat to penetrate and loosen the mold.
- Wipe away loosened dirt and mold with a microfiber cloth.
If you don’t have a steam cleaner, consider hiring a professional service like Same Day Tile Cleaning for fast and efficient results.
Tips for Preventing Mold Growth in Grout
- Seal Your Grout: Apply a grout sealer every 6-12 months to create a barrier against moisture and mold.
- Ventilate Your Space: Use exhaust fans or open windows to reduce humidity in bathrooms and kitchens.
- Wipe Down Tiles: After showers or cooking, wipe down tiles to remove excess moisture.
- Clean Regularly: Incorporate weekly grout cleaning into your routine to prevent mold from taking hold.
Common Mistakes to Avoid
- Using Abrasive Tools: Hard brushes or scouring pads can damage grout and worsen the problem.
- Skipping Drying: Always dry grout after cleaning to prevent new mold growth.
- Ignoring the Problem: Allowing mold to grow unchecked can lead to permanent grout discoloration and damage.
Benefits of Bleach-Free Grout Cleaning
- Safer for Your Home: No harmful fumes or toxic chemicals.
- Preserves Grout Integrity: Gentle methods prevent erosion or weakening of grout.
- Eco-Friendly: Natural cleaning solutions are better for the environment.
- Effective Results: These methods remove mold and stains just as well as bleach-based cleaners.
Conclusion
Cleaning mold from grout doesn’t have to involve harsh chemicals. With these five bleach-free methods, you can effectively remove mold, protect your grout, and maintain a healthier home environment. From baking soda and vinegar to the power of steam, these solutions offer safe and reliable options for Grout Cleaning. For a professional touch or urgent help, reach out to Same Day Tile Cleaning for expert services. Whether you need routine maintenance or specialized Outdoor Tile Cleaning Melbourne, these experts ensure spotless and long-lasting results. With regular care and the right cleaning methods, you can keep your grout mold-free and your tiles looking their best.
Published on: January 31, 2025