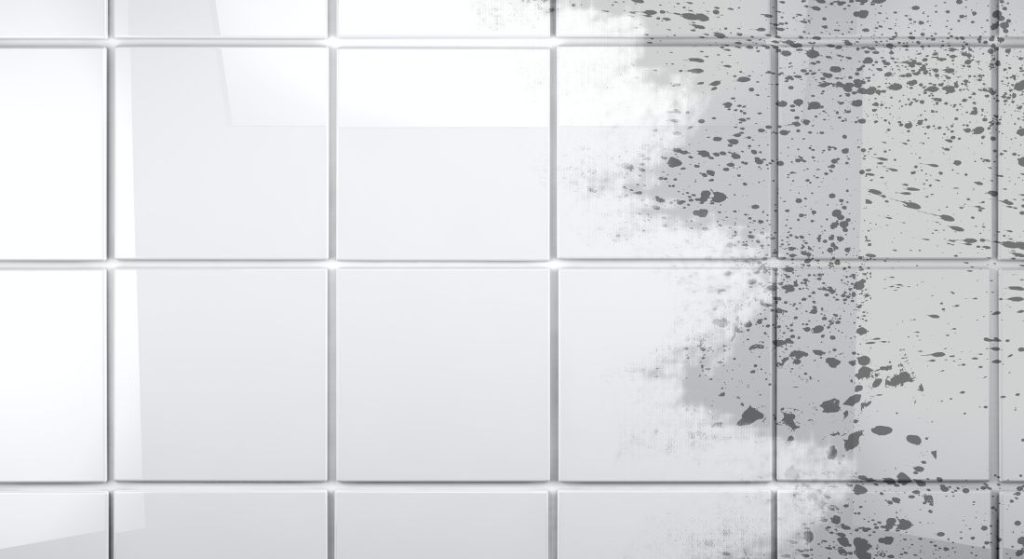
Are your tiles perpetually adorned with a stubborn, hazy film even after a thorough cleaning session? Chances are, you’re dealing with the notorious “detergent haze,” a residue left behind by cleaning products. In this article, we’ll explain how to remove haze from tiles and what you can do to remove it, restoring your tiles’ original shine.
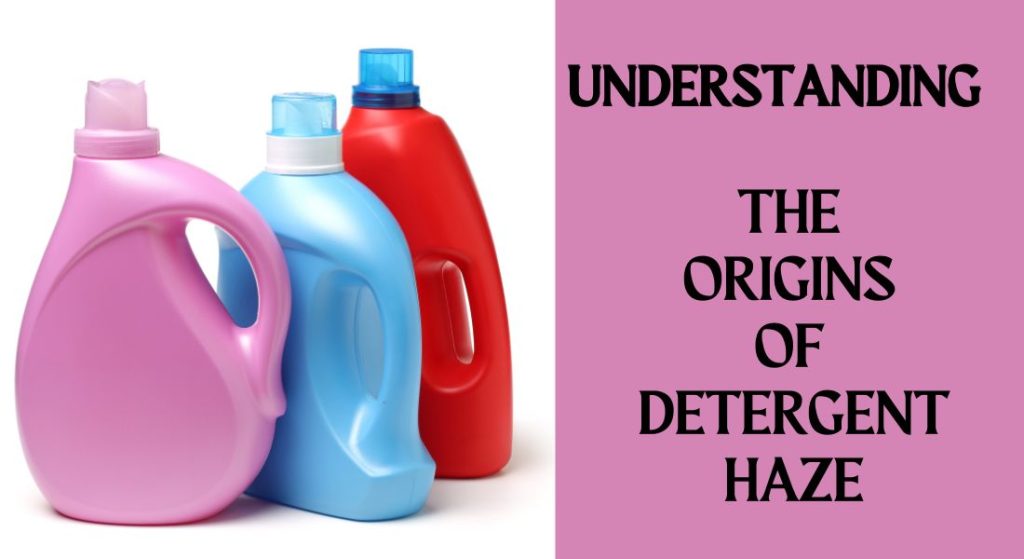
Understanding the Origins of Detergent Haze
The genesis of this elusive film lies in the residue left by common floor cleaning products. Over time, this residue accumulates, gradually transforming into the noticeable haze we all want to be rid of. Products with a high pH, often marketed as heavy-duty or grease-removing cleaners, tend to leave a more significant residue. The only preventive measure is to rinse tiles with fresh water post-cleaning, a task that can be labour-intensive.
Banishing Detergent Haze: DIY or Professional Help?
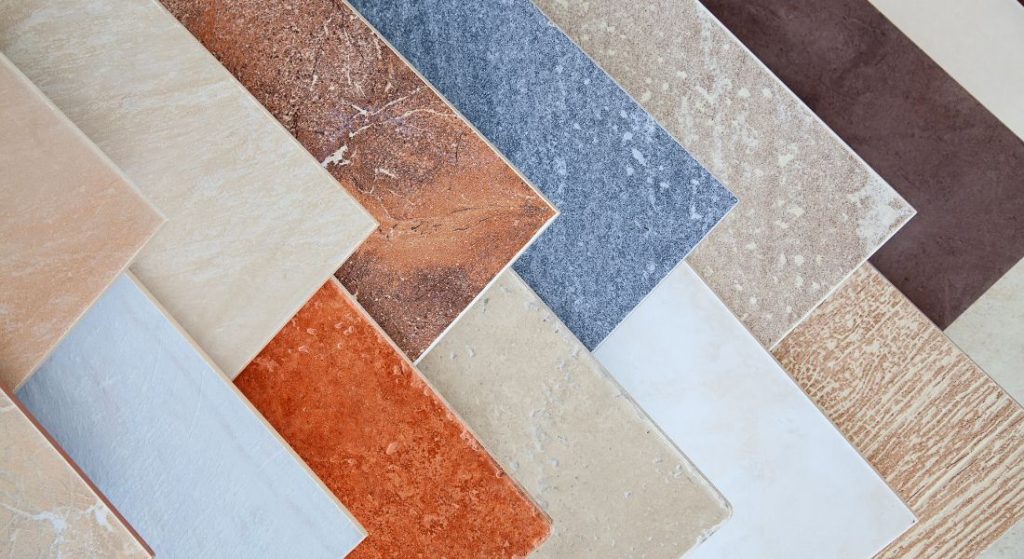
If you’re considering a DIY approach, understanding your tiles is paramount. Natural stone tiles, including marble, terrazzo, limestone, and blue-stone, should avoid contact with acids, as acids can etch their surfaces. On the flip side, man-made tiles like porcelain and ceramic are acid-safe. For natural stone tiles, seeking professional tile cleaning services becomes crucial, ensuring the proper removal of detergent haze without compromising the tile’s integrity.
How To Remove Haze from Tiles: A DIY Approach
Step 1: Identify Your Tiles
Begin by determining the type of tiles you have—whether they are natural stone or man-made. Acids, which are effective against detergent haze, can damage the surface of most natural stone tiles, affecting their finish. If you have natural stone tiles like marble or limestone, it’s advisable to seek professional assistance. For man-made tiles like porcelain or ceramic, acids can be safely used for cleaning.
Step 2: Choose Your Product
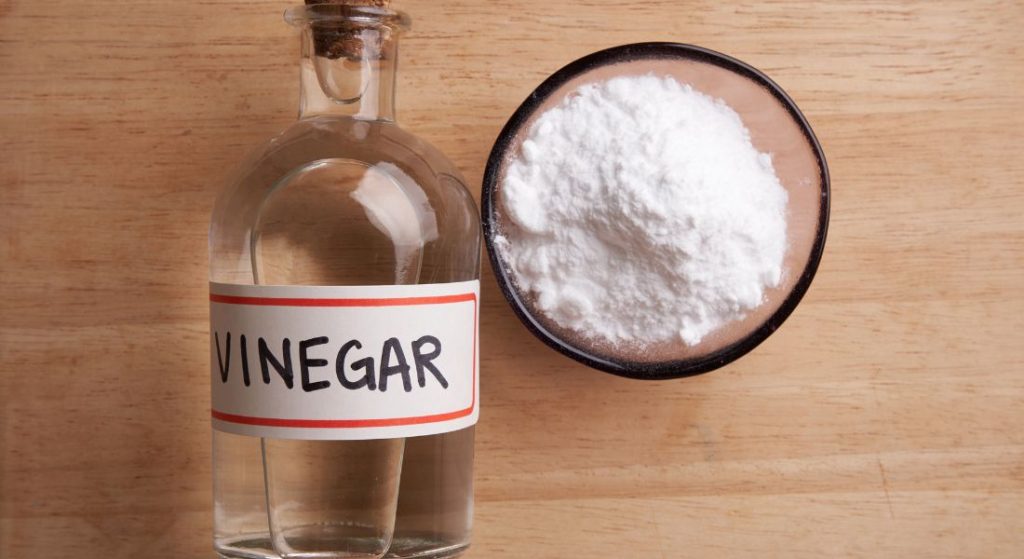
For a mild yet effective solution, consider a vinegar mixture. Blend 1 litre of white vinegar with 4 parts of very warm water. The warmth aids in breaking down the detergent buildup. Alternatively, there are acid-based tile and grout cleaning products available online. Exercise caution when using these professional-grade products.
Step 3: Product Application
Mop the acidic cleaning solution onto the tiles, allowing a 5-minute dwell time. To minimize the chance of streaking, dry the floor with a towel to pick up the rinsing solution and cleaning product residue. Rinse the area with fresh water and let it air dry. Repeat the process if necessary to achieve the desired results.
What if Results Fall Short?
If the DIY approach doesn’t yield satisfactory results, it’s time to consider professional tile and grout cleaning services. Professionals can perform a demonstration clean to showcase the potential results, ensuring you make an informed decision.
Tackling Darkened Grout Lines
Tiles affected by detergent haze often exhibit dirty grout lines. For a DIY attempt, agitate diluted vinegar into each grout line with a brush to remove some of the detergent residue and lighten the grout lines. However, professional tile and grout cleaning may be required for deeply stained or darkened grout lines.
In Conclusion
understanding the origins of detergent haze and following these step-by-step solutions empowers you to reclaim the brilliance of your tiles. To bring out the genuine shine of tiles, knowing how to remove haze from tiles is essential. Whether you opt for a DIY approach or seek professional assistance, banishing detergent haze is within reach, allowing your tiles to shine once again.
Published on: December 13, 2023