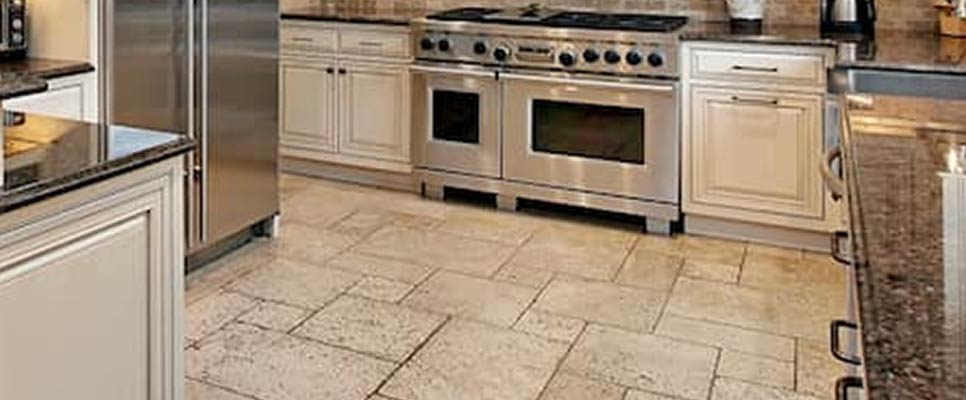
When it comes to kitchen maintenance, one area that often gets overlooked is the kitchen tiles. Over time, these tiles can accumulate dirt, grime, and stains, making your kitchen look dull and unappealing. To maintain the sparkling beauty of your kitchen, it’s essential to regularly clean and care for the tiles. In this comprehensive kitchen tile cleaning guide, we will provide you with step-by-step instructions to ensure your kitchen tiles remain spotless and vibrant.
1.Gather the Cleaning Supplies
Before starting the cleaning process, gather all the necessary supplies. You will need:
- Broom or vacuum cleaner
- Mop
- Microfiber cloths or sponges
- Mild dish soap
- White vinegar
- Baking soda
- Warm water
2.Clear the Area
Start by clearing the kitchen area and removing any loose debris or food particles from the tiles. Sweep the floor thoroughly or use a vacuum cleaner to ensure there’s no dirt left on the surface.
3.Preparing the Cleaning Solution
For an effective and natural cleaning solution, mix equal parts of warm water and white vinegar in a bucket. This solution is not only eco-friendly but also powerful enough to remove tough stains.
4.Spot Cleaning
If you notice any stubborn stains or spills on the tiles, apply some baking soda mixed with water directly on the affected area. Let it sit for a few minutes, then scrub gently with a sponge or cloth to lift the stain.
5.Mopping the Tiles
Dip the mop into the cleaning solution and wring it out to avoid excess water on the tiles. Start mopping the floor, working in small sections. Remember to frequently rinse the mop and change the cleaning solution if it becomes too dirty.

6.Cleaning Tile Grout
Grout lines often trap dirt and grime, making them appear dark and dingy. To clean the grout, make a thick paste using baking soda and water. Apply the paste to the grout lines and scrub with a small brush or an old toothbrush. Rinse the area thoroughly with clean water.
7.Dealing with Stubborn Stains
If there are any stubborn stains that the regular cleaning solution couldn’t remove, apply a mixture of baking soda and vinegar directly to the stain. Let it sit for a few minutes, then scrub gently. Rinse with water and repeat if necessary.
8.Drying the Tiles
After mopping and cleaning, allow the tiles to air dry completely. Avoid walking on the wet floor to prevent any dirt or stains from sticking to the surface.
9.Maintaining the Shine
To maintain the sparkling look of your kitchen tiles, wipe them regularly with a damp microfiber cloth or sponge. This will prevent the buildup of grime and keep your tiles looking pristine.
10.Special Care for Different Tile Materials
Different tile materials may require specific care. For instance:
- Ceramic Tiles: These are generally easy to clean and maintain. Follow the general cleaning steps mentioned above.
- Porcelain Tiles: Similar to ceramic tiles, follow the same cleaning process. However, avoid using abrasive cleaners that could scratch the surface.
- Natural Stone Tiles: Use a pH-neutral stone cleaner to avoid damaging the stone. Avoid acidic cleaners like vinegar as they can harm the stone’s surface.
11.Regular Maintenance Schedule
Create a regular maintenance schedule for cleaning your kitchen tiles. Depending on the foot traffic and cooking frequency, consider deep cleaning once a month and regular mopping once a week. Along with this, you should also keep professional cleaning part of your regular maintenance routine. For finding professional tile cleaners Melbourne, you can contact us.
Conclusion
By following these step-by-step instructions and incorporating regular maintenance, you can keep your kitchen tiles sparkling clean and looking as good as new. A clean kitchen not only enhances the overall appearance of your home but also promotes a healthier and more pleasant cooking environment.
Published on: July 29, 2023
Last updated on: December 7, 2023
